Tuesday, 4 March 2014

parsley root

PAN-FRIED YELLOW PERCH FILLETS 

WITH PARSLEY ROOT PURÉE 

AND SAUTÉED VEGETABLES


We are all familiar with parsley, but less so with parsley root. Though used widely in Central and Eastern Europe, it is far less common in North America. Thankfully, I have little trouble finding it in Toronto, phew. 

I took for granted that this type of root vegetable is grown primarily for its root and not its leaves like conventional parsley is. I can recall a time when I was living in Auckland and I was really missing using parsley root in my cooking so my dear and well-meaning father in-law dug up his own garden parsley, roots and all, and brought over a bag-full of tangled spindly roots for me to cook up. I took one look at them and thought How the hell am I going to cook with these?  But given my obstinate temperament and sheer determination to make something out of nothing, I began to somehow peel them. Unsurprisingly, it was nearly impossible. I came out thinking that they just don’t have proper parsley over there. I was wrong, they just don’t have this variety of parsley root. 

At first glance, parsley root (or the Hamburg root parsley) looks like parsnip but it tastes quite different from it. It has a nuttier sweeter flavour and can be used in a variety of ways. I use it in stocks quite often, but you can also make parsley root chips, grate it raw into a salad, or purée it like I did in this post. I find the delicate taste and creamy texture of parsley root goes very well with white fish so in this post I am pairing parsley root with wild yellow perch fillets. This makes for a delicate and elegant flavour combination you will surely love.

PAN-FRIED YELLOW PERCH FILLETS WITH PARSLEY ROOT PURÉE AND SAUTÉED VEGETABLES

INGREDIENTS:
Makes 4 portions

2 large parsley roots or 4 small ones, peeled and cubed
2 medium Yukon Gold potatoes, peeled and cubed
Milk, enough to cover 
8 perch fillets
1 ½ Tbs butter
1 ½ Tbs sunflower oil
1 Tbs olive oil
1 yellow bell pepper, cut into thin long strips
1 zucchini, sliced into ribbons with vegetable peeler
Salt and pepper

METHOD:

  1. Place the cubed parsley root and potatoes into a medium pot and cover with enough milk to cover. Bring to a boil, reduce heat, and cover. Let simmer until liquid is reduced and parsley root and potatoes are soft and tender. Season with salt, then purée in a blender until smooth and silky.
  2. In a pan, heat up olive oil on medium, add the capsicum and sauté for 30 seconds then add the zucchini ribbons and continue to sauté for another minute. Season with salt and pepper, then take off the heat.
  3. Run the perch fillets under cold water then pat dry with paper towel. Season skin with salt and pepper so that the skin will be nice and crispy. In a large pan, heat up the sunflower oil on medium high then add the butter. As soon as it begins to bubble, place your perch fillets skin side down into the pan. The instant you've placed your fillets on the pan, weigh them down with another smaller pan so they don’t curl up. I used my cast iron trivet. Fry for 1 minute, check that skin is crispy. Turn and cook for another 45 seconds. If your fillets are bigger cook longer on each side.
  4. Make a round flat pillow with your parsley root pure, set the sautéed vegetables on top of purée, then top with the beautiful and delicate perch fillets. Make sure you pour that lovely buttery sauce over your fillets, yum.


Tuesday, 25 February 2014

eggplant

RUSTIC GALETTE 

WITH EGGPLANT 


When I talk about the ‘Southern Trio’ I am referring to the holy trinity of eggplant, zucchini, and tomato. Think Provence or Sicily and how prominently this combination figures into their regional cuisine. In this dish however, the eggplant is definitely the star.

I guarantee that this rustic savoury galette is so delicious and charming, you’d think you were transported to the sunny Mediterranean. The unctuous savouriness of the eggplant combined with the mellow crunch of the zucchini, and the juicy freshness of the tomatoes alongside the flaky buttery pastry makes for a truly heavenly dish.

RUSTIC SOUTHERN TRIO GALETTE

SHORTCRUST PASTRY: for a simple fail-proof shortcrust pastry recipe go to http://tattyapron.blogspot.ca/2013/05/stinging-nettle-quiche.html 
If making only enough pastry for one galette, simply halve the measurements.


INGREDIENTS FOR FILLING:

3 Tbs olive oil
½ onion, finely diced
1 clove garlic, finely diced
½ large eggplant, diced into small cubes
1 medium zucchini, diced into small cubes
100 ml tomato passata
1 whole tomato, sliced into 1 cm slices
grated Gruyère, or any good quality cheese which melts nicely
salt and pepper
1 egg yolk, whisked

METHOD:
  1. Preheat oven to 400 F
  2. In a pan, heat up the olive oil on medium heat, then sauté the eggplant until it begins to become translucent and is just beginning to soften. 
  3. To this, you add your onions, followed by the garlic. Let them cook gently together until they are soft and brown, but not burnt. 
  4. Stir in the tomato passata and let simmer on low heat for about 15- 20 minutes adding a bit of water if you find that the mixture is drying out. 
  5. Towards the end stir in your finely chopped zucchini, season well with salt and pepper, let mingle for a minute then take off the heat. Set aside to cool.
  6. If you kept the pastry in the freezer make sure you have defrosted it overnight in the refrigerator. Roll out your short crust pastry onto a clean and lightly flowered surface into a relatively thin round shape. You can be meticulous and trim the edges to form a perfectly round disc but this is a rustic dish and I personally like the rough uneven edges, c’est très charmant.
  7. Transport the pastry to a large backing tray lined with parchment paper. Using a fork, prick around the base of the pastry. Take your filling and spoon it onto the middle of your pastry, leaving about 3 inches off the edges free. Cover with a shaving of Grueyere cheese and top with the tomato slices. Add a drizzle of olive oil and season with salt and pepper.
  8. Now, fold up the uncovered border over the edge of your filling into pleats then brush the egg yolk onto the crust. This will give it an irresistible sheen and will help seal the pleats.
  9. Place in a 400 F oven for about 25-30 minutes or until the pastry is golden brown.
  10. Let cool for a few minutes, sprinkle with chopped parsley or basil.


                    Thursday, 20 February 2014

                    celeriac

                    CREAMY CELERIAC SOUP


                    You've seen it, that big round knobbly root sitting almost brazenly alongside the parsnips and carrots on the supermarket shelf. It sits there completely unaware of its less than desirable appearance. With a quiet self-assurance it awaits for someone who is already privy to its hidden charms to lob it eagerly into their basket.

                    If you've never used celeriac in your cooking, I strongly advise you to go out and get one at once! You will be wooed by its delicate aromatic scent and its sweet flavour. Most often I use it as part of any soup or stock that I make, however, it is brilliant roasted or grated raw in coleslaw. However, seeing as we are smack-dab in the middle of winter, I thought I would make a simple creamy celeriac soup to warm up my bones.

                    INGREDIENTS:

                    1 Tbs. olive oil
                    1 celeriac root, peeled and chopped into cubes
                    2 medium waxy potatoes, peeled and chopped into cubes (slightly larger than the celeriac cubes)
                    1 leek, sliced
                    1 onion, chopped
                    1 clove garlic, chopped
                    3 cups of light stock like vegetable or chicken stock
                    salt and pepper
                    2 Tbs. cream

                    METHOD:
                    1. In a medium pot, sauté leek, onion and garlic until soft and translucent 
                    2. Add the celeriac, sauté for a minute, then add the potatoes and sauté for another 2 minutes. Stir occasionally with a wooden spoon to ensure the leeks and onions don’t burn and the ingredients are evenly distributed. 
                    3. Pour in the stock – I used my home-made rabbit stock this time but you can use any light stock here – bring to a boil  then reduce heat, cover and simmer for 30-45 minutes or until vegetables are soft.
                    4. Season with salt and pepper
                    5. Purée the soup with a hand blender or food processor 
                    6. Pour in the cream and give it a nice stir until fully incorporated
                    7. Top with home-made croutons or celeriac chips, and a sprinkle of parsley


                    Saturday, 8 February 2014

                    popovers

                    BACON AND CHIVE 

                    POPOVERS


                    On many weekend mornings I love to potter around the house, taking my sweet time just because I can, but also because I want to savour those languid hours, popping in and out of bed while something warm is baking in the oven. The smells wafting throughout the home hold the promise of a day sauntering onward at its own pace. And on quite a few of those mornings, that distinction belongs to my bacon and chive popovers. They are so light and airy but incredibly flavourful at the same time.  How can that be? you may ask. Let me show you!


                    BACON AND CHIVE POPOVERS

                    INGREDIENTS:

                    250 ml (1 cup) milk
                    3 eggs
                    2 Tbsp butter, melted (plus butter for coating muffin tins)
                    1/2 tsp salt
                    250 ml (1 cup) all-purpose flour
                    1 tsp olive oil
                    1/4 cup of bacon, diced
                    1/3 of medium onion or whole shallot, diced
                    Parsley, chopped
                    Fresh red chilli, chopped (optional)
                    Bunch of chives, chopped

                    METHOD:
                    1. Preheat oven at 220C/425F
                    2. Coat muffin tins with butter (you can use any size muffin tins) and place in oven to heat
                    3. Meanwhile, fry the bacon and onion in the olive oil until browned, set aside to cool down
                    4. In a food processor, combine milk, eggs, melted butter, flour, and salt. Blend for 10 seconds, scrape down the sides then blend some more, around half a minute
                    5. Fold in bacon and onions into the batter, and then add the chopped chives, chilli, and parsley
                    6. Pour batter into buttered muffin tins and bake for 23-30 min. or until they are golden brown and have literally popped over
                    7. Place on a cooling rack

                    Enjoy warm with some good butter.


                    Sunday, 2 February 2014

                    spätzle


                    TRADITIONAL GERMAN 

                    EGG NOODLES OR SPÄTZLE


                    I love noodles, all types of noodles; from Japanese ramen to Italian pasta, from Valencian fideuà to Asian rice vermicelli. But there is a lesser known noodle among this international band of brothers, and it’s one of my favourites, the German spätzle. In fact the word noodle comes from the German word nudel! I like it as an accompaniment to schnitzel, served with a meat stew or topped off with a rich mushroom sauce. However, you can always have it on its own as well … maybe with some cheese melted in, mmmm. More than any noodle that I know of, spätzle is best made fresh but not to worry it’s simple and rib-sticking good.

                    SPÄTZLE


                    INGREDIENTS:
                    Makes 2 large servings

                    Batter:
                    1 heaping cup of all-purpose flour
                    ½ tsp. salt
                    pinch of nutmeg (optional)
                    1 egg
                    ½ cup of cool water

                    Crumb mix:
                    1.5 tbsp. butter plus a couple of knobs to finish off (be generous)
                    4 tbsp. breadcrumbs
                    salt and pepper

                    METHOD:
                    1. In a bowl, combine flour, salt and nutmeg, break in one egg and give it a stir to incorporate the egg into the dry ingredients. Add the water in gradually while stirring continuously with a wooden spoon until the batter becomes quite smooth and elastic. This should take about 10 minutes and it’s supposed to give your arm a good workout. Set aside in cool place.
                    2. Meanwhile, bring a large pot of salted water to a boil.
                    3. In a pan, melt the butter. Add in the breadcrumbs and fry on medium heat until they turn brown and nutty. Season well with salt and pepper. Set aside.
                    4. I use my spätzle press to form the spätzle but you can also use a large-holed colander or slotted spoon. Over the simmering water, push the dough through the holes with a spatula or spoon. This is best done in batches so that you don’t overcrowd the pot. Once the little worm-like noodles float to the top they’re done. Spoon them out with a sieve or slotted spoon and place onto a dish dotted with a few knobs of butter. Give the spätzle a gentle toss making sure they are coated in the butter, this will ensure that they don’t dry out but remain luscious and delicious.
                    5. Once your batches of spätzle are done and coated in the butter, sprinkle the breadcrumb mixture on top and gently fold into the spätzle.
                    6. Wash down with a bottle of good beer and toast to the god of Nudel, ja!


                    Tuesday, 28 January 2014

                    rabbit

                    RABBIT IN MUSHROOM SAUCE WITH TAGLIATELLE


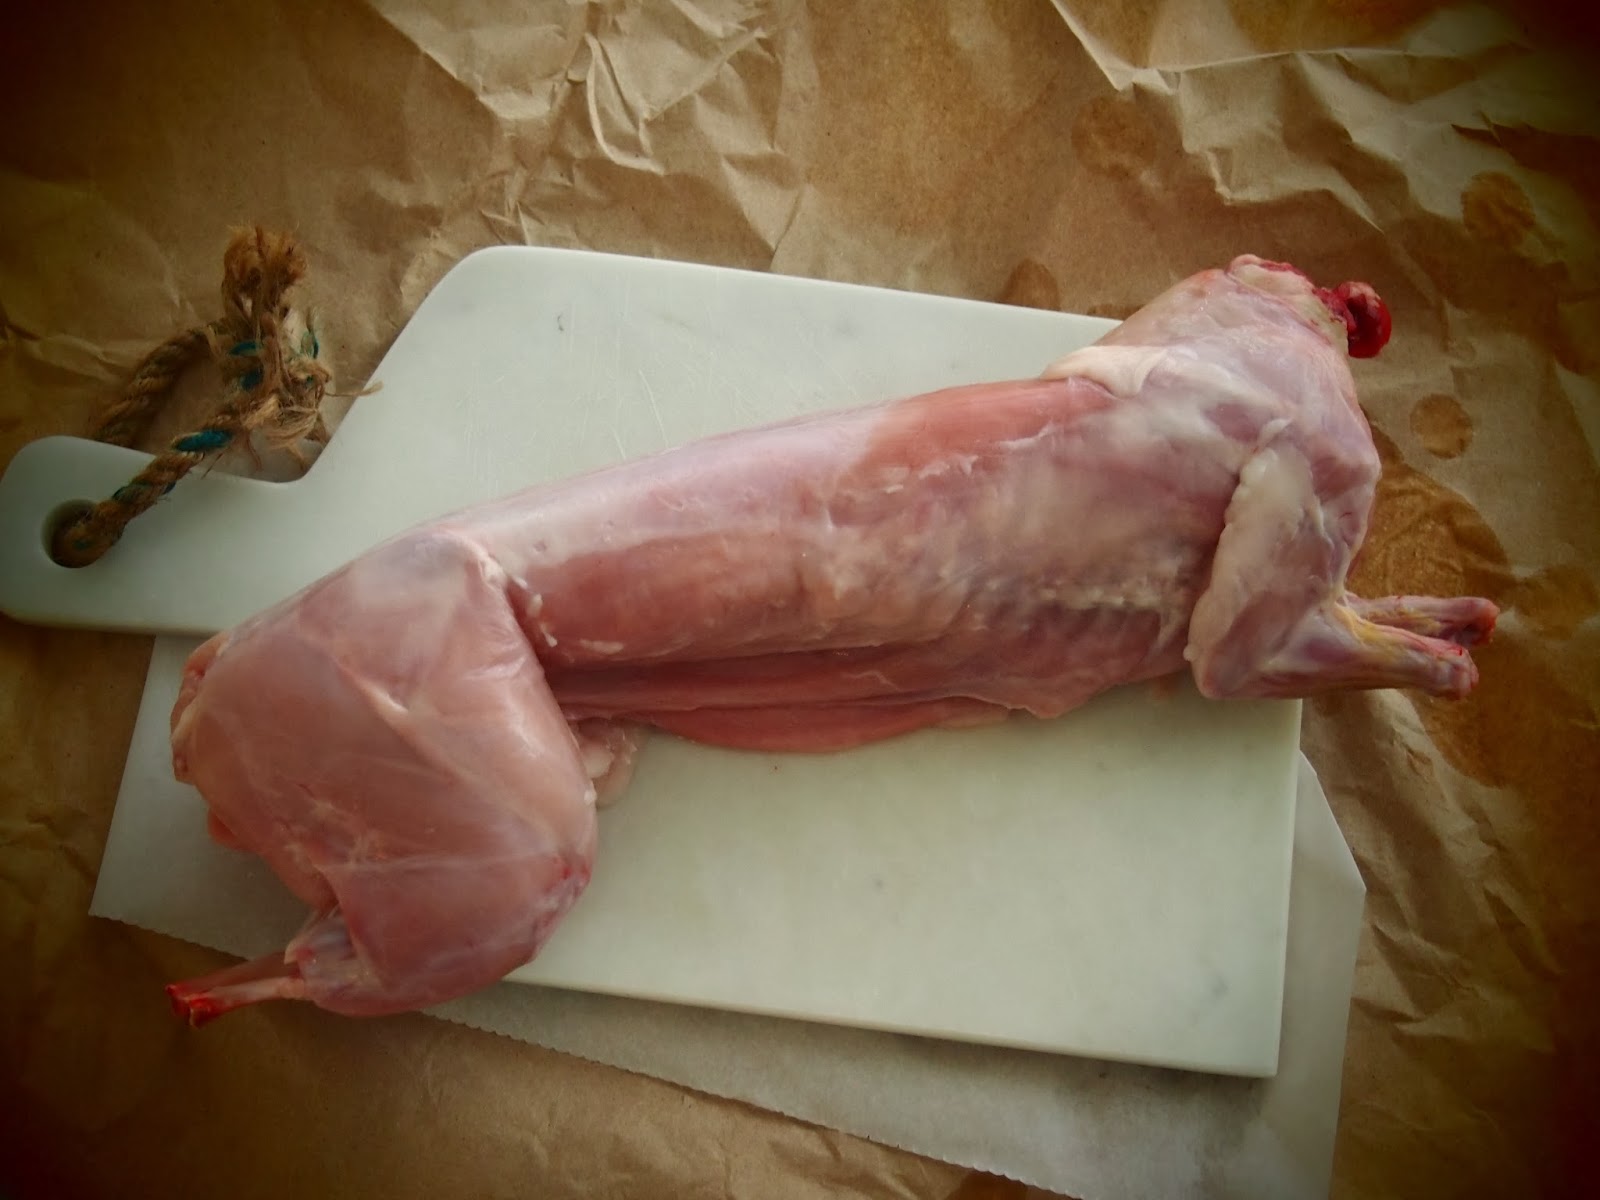
                    Rabbit is one of those things I consider to be a “gateway meat” to the wonderful world of game meats. Why is this? Well it tastes like chicken, well sort of, otherwise why not just eat chicken?  But it’s more than chicken, rabbit has a very delicate flavour with a touch of gaminess that simply makes it special.

                    But how do you do this wonderful game meat justice? My partner claims he’d only eaten properly cooked rabbit when prepared by farmers, never in a restaurant. ‘Why do you think that is?’ I once asked ‘Well farmers need to know how to do it right, they eat rabbit all the time -- controlling rabbit populations in the country is absolutely necessary which means you have lots of free meat -- so they might as well do it well’.

                    Clearly, rabbit is the kind of meat you need to understand in order to prepare it well so here are a few tips and a rustic recipe that demonstrates these principles and will help you prepare the bashful rabbit with the care it deserves.

                    KNOW YOUR RABBIT!
                    • Jointing your rabbit properly – here is a link to help guide you through this fun process: http://www.youtube.com/watch?v=WYancLuBrmE
                    • Different cuts cook at very different speeds. This is why jointing your rabbit properly is a must.
                    • Delicate meat means pairing it with delicate non-overbearing flavours
                    • Don't overcook the meat, rabbit needs to be plump and moist not dry
                    • Save the offal, it’s a treat!

                    RABBIT IN MUSHROOM SAUCE WITH TAGLIATELLE

                    Serves 4

                    INGREDIENTS

                    1 rabbit, jointed
                    olive oil
                    ½ L stock, chicken, rabbit, or vegetable
                    2 shallots, finely chopped
                    bacon, cut into meaty cubes
                    mushrooms (i.e. cremini and oyster), sliced into large meaty portions
                    A bunch of fresh thyme
                    1 cup of white wine
                    ½ cup of cream (you may add more if needed)
                    1 tbsp, grainy Dijon mustard
                    parsley, chopped
                    500g tagliatelle pasta
                    salt and pepper

                    METHOD:

                    1. Joint rabbit as shown in the link I posted above. The only thing I would do differently is to keep the middle of the torso in one larger piece so that I can remove the two strips of loin in one clean piece.
                    2. Poach the back legs in a pot filled with water and a bouquet garni of parsley, thyme, and a bay leaf. Bring the water to a boil then turn down to a simmer for about 40-45 minutes.
                    3. Bring a large pot of water up to a boil for the tagliatelle pasta to be cooked later.
                    4. Make sure your remaining cuts are clean and trimmed of fat, paying particular attention to the liver.
                    5. Once your legs are poached, cut away the meat from the bones so that you have plump pieces of meat then set aside.
                    6. To make the mushroom sauce, fry the bacon and shallots in olive oil over a medium hot pan. Add the mushrooms and thyme leaves and let simmer until the mushrooms have let out some water, and once the liquid begins to reduce add in the white wine and let reduce again.
                    7. Once the wine has reduced to about 1/3, add the stock and let reduce again to 1/3.
                    8. While your sauce is reducing, begin to cook the different cuts of rabbit, adding in each cut in succession. In a pan, heat up some olive oil on medium heat. You first fry the fore legs on both sides for about 5 minutes.  Then add in your loins to cook on both sides for another 3 minutes, followed by the leg cuts, and finally the fast-cooking belly flaps. 
                    9. Throw in the pasta into salted boiling water to cook for however long the box indicates, usually 6-8 minutes depending on the pasta.
                    10. While the meat is cooking, you can add the cream to your mushroom sauce and let simmer for another few minutes. Add in the grainy dijon mustard and the parsley. Stir and simmer for a minute or two.
                    11. Once your cuts of rabbit are cooked add them to your mushroom sauce making sure the sauce and the meat are well incorporated.
                    12. Flash fry the liver in the pan that you used to cook the rabbit meat.
                    13. Once the pasta is cooked, drain and add to the mushroom rabbit sauce, ensuring the pasta is covered in the sauce.
                    14. Pour onto a beautiful serving platter topped off with the sliced liver and enjoy this rustic and flavourful dish.