WINE BRAISED BRISKET AND OXTAIL ON ROASTED BONE MARROW
I
think there is something about bone marrow that connects us to a very primal
part of ourselves. Some anthropologists
believe that in some parts of the world early humans were scavengers rather
than hunters and bone marrow would have supplied the large brains of us tool-using
hominids with much needed fat.
Be
that as it may, I like to indulge myself in primal activity now and then and
what could be more indulgent than the exquisite, fatty and nutty bone marrow? However,
as if the bone marrow weren't enough of an indulgence, I like to smother it
with red wine braised beef brisket and oxtail. I promise you that this will be
one of the most memorable dishes you will ever enjoy, right down to the last
drop of marrow as you will surely wiggle your tongue along every crevice of
your boat-shaped bone in pursuit of it. I took a photo of a friend of mine
getting right amongst it like a Cro-Magnon and I have to say, it was an image
to remember.
The
great thing about living in an area with access to farms with their own country
meat stores is that you can ask for the cuts of meat you want. This ensures
that the next time the cattle goes to the abattoir, part of it has your name on
it and you will get the freshest cuts from a small herd of local organically
raised animals. What can be better that that?
A
good rapport with your local butcher is particularly handy when it comes to
preparing this dish as you will need to ask for the shin bone to get sliced
lengthwise. I tend to put my order in at Oakridge Acres http://www.oakridgeacres.ca/ because their meat is outstanding. The cattle are fed
mostly grass/hay as well as non GMO barley. This is some of the best tasting
meat I have ever had and I’ll look for any excuse to drive down to Ayr to pick
up my order.
WINE
BRAISED BRISKET AND OXTAIL ON ROASTED BONE MARROW
INGREDIENTS:
Serves
4
2 Tb.
olive oil
Salt
and pepper
4
beef shin bones cut lengthwise
400 g
beef brisket
300 g
oxtail
1
small onion, finely chopped
1
large carrots, finely chopped
1
celery stalk, finely chopped
2/3
bottle red wine
1 cup
tomato passata
1
sprig of thyme
Parsley,
finely chopped
Lemon
rind, grated
METHOD:
- Preheat
oven to 325 F
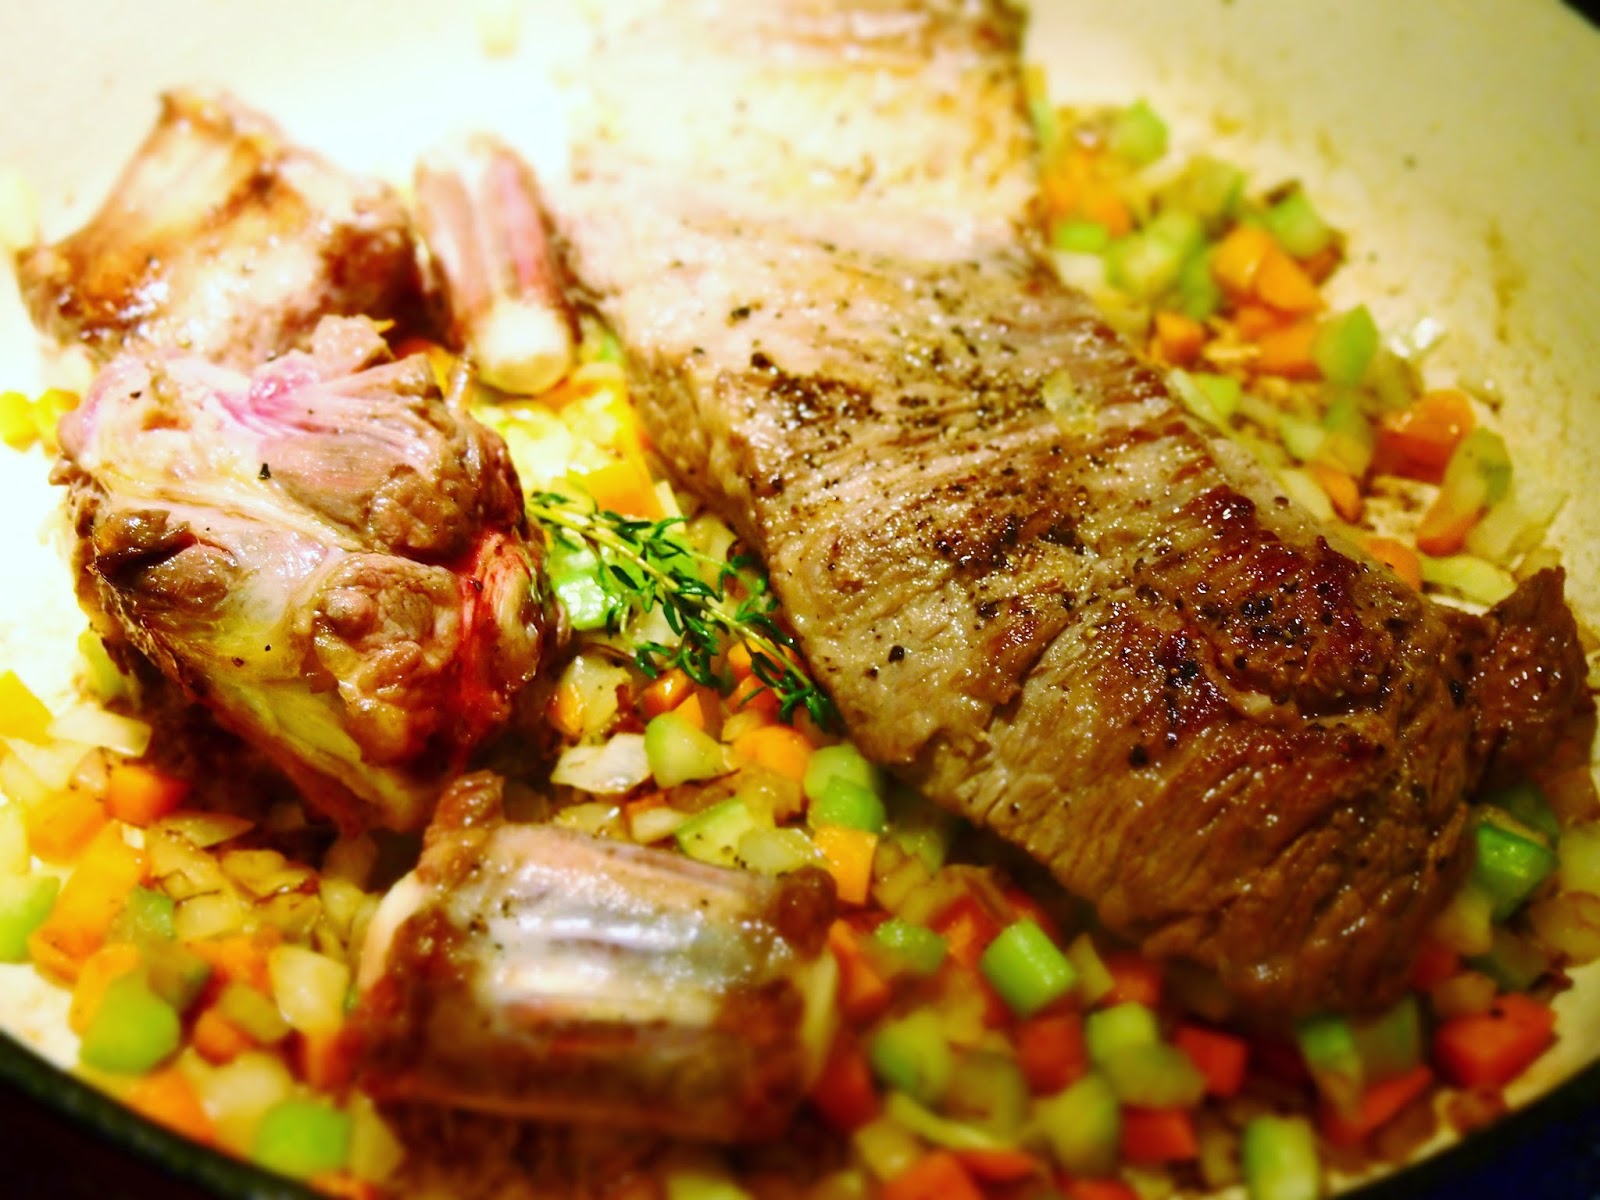
- First
start off by seasoning the brisket and oxtail amply with salt and pepper
- Heat
up the olive oil in a deep cast iron pan or pot on medium high heat
- Sear
the meat on all sides until brown
- Remove
meat, set aside
- Throw
in the onions, carrots, celery, and thyme sprig and cook for a 3 minutes
- Place
the meat back in then pour in the red wine followed by the tomato passata
- Let it
come to a simmer then cover with lid and place in oven to cook for 3 hours
- Remove
pan or pot from the oven. The meat should be extremely tender. Using two forks
shred the meat up and stir it into the sauce so the meat gets completely
incorporated into that lovely dark red braising liquid. Cover and set aside.
- Turn
the oven up to 420 F
- Lay
the bones marrow side up on a baking sheet, season with salt and pepper and
bake for 10-15 minutes. Once the marrow begins to soften and bubble, remove it from
the oven
- Pile
on the shredded braised beef on the bone marrow then sprinkle with the chopped
parsley and lemon rind for a punch of colour and freshness
- Serve
with a nice mash as I did or with a couple of golden buttery slices of toast
for scooping up that marrowy goodness
TIP: The
brilliance of this dish comes out when you get the braised meat and the bone marrow
in the same mouthful. The sweet nuttiness of the marrow along with the rich
savouriness of the braised meat is out of this world.


